Heading back to school is a much different experience for students this fall. Many traded classrooms for virtual learning, or a combination of both. A lot of organized sports are cancelled, as are big events. It’s a tough time for students who are used to being social and active. This schedule is equally rough on parents who are scrambling to find activities to keep students busy.
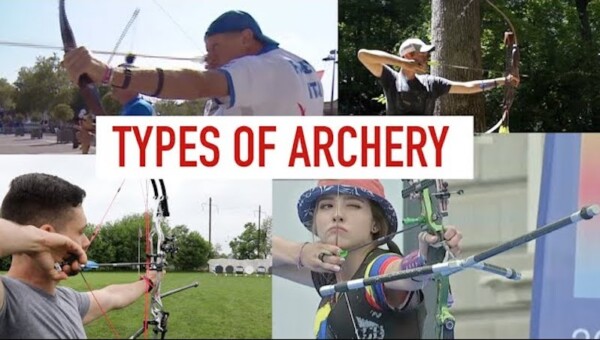
If you’re a parent homeschooling your kids or are looking for a new sport to engage your child in, take a shot at archery. Archery offers many mental and physical benefits. It teaches math and etiquette, and also reduces stress. It’s also one of the safest sports and can be done alone at home.
Setting Up a Range
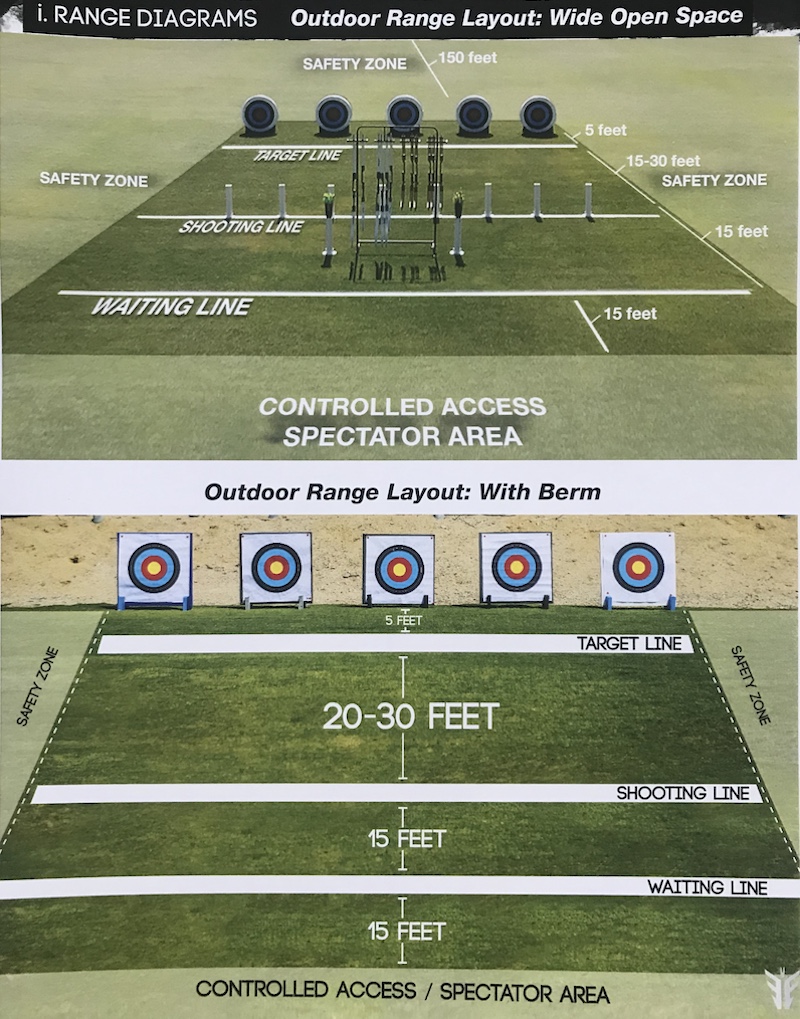
An archery range can be set up safely in the backyard. Check to make sure there aren’t any community guidelines that prevent shooting archery equipment in your area. Look for a natural backstop for the target like a berm, or make your own backstop. If a backstop isn’t available, give yourself a minimum safety zone of 50 yards (150 feet) behind the target. You need to know where the arrows will land if they miss the target, and it needs to be a safe place. Make sure no one can unknowingly walk behind the target. If you have a space for an indoor range, purchase a safety curtain to catch missed arrows.
Use rope, tape, paint, or chalk to mark a visible shooting line. The shooting line is where the archer stands to shoot at the target. Archers use a variety of targets including 3D, bag, block and hay bales. Archery shopscarry targets, or you can make your own. A good beginner’s distance for a target is 10 yards from the shooting line.
It’s important for you and your student(s) to follow safety precautions at all times while on the range. Everyone should always stand behind the shooting line while the archer is shooting. Important range rules include: always walking, keep arrows in the quiver until told to shoot, only release the bow string when an arrow is nocked and pointed in a safe direction, and leave dropped arrows on the ground until told it’s safe to retrieve them.
Getting Equipment
You’ll need some basic equipment like a bow, arrows, target, quiver, arm guard and finger tab. Taking your student to an archery shop is the best way to get the right equipment. A bow technician will measure your child and find a bow that fits. Many beginner bows are easily adjustable and can grow with your child or be used by multiple people. Most new archers use beginner equipment, such as a universal compound bow.
Learning the Basics
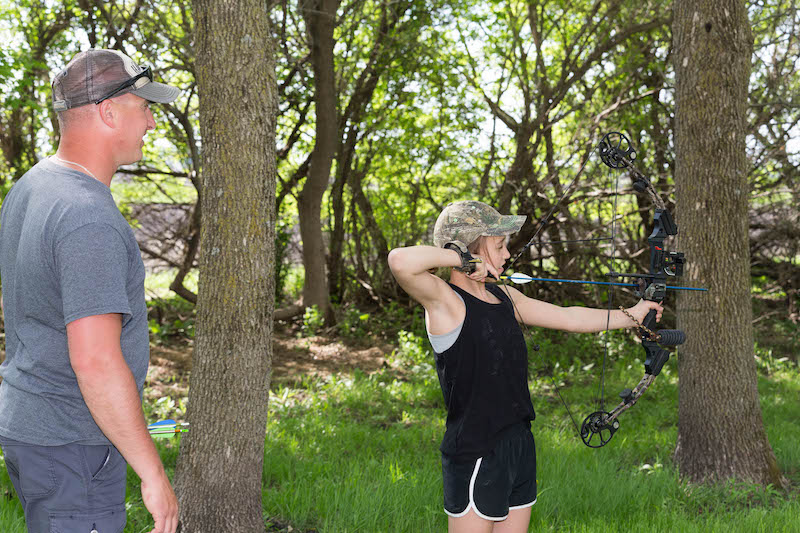
There’s much more to shooting a bow than pulling back the bowstring and letting an arrow fly. Proper form is essential, because it prevents injury and provides consistency. Have your child learn and follow these steps to start shooting.
Stance: Straddle the shooting line with feet shoulder-width apart. Turn the toes of both feet toward the target about 30 degrees.
Nock: Grasp the arrow below the nock, then bring it over the bow and place it on the arrow rest. Spin the arrow so the index vane points out or away from the rise toward the body. Push the nock into place on the bowstring directly below the nocking point. Listen for it to “snap” into place.
Hook and Grip: Curl the bowstring with the index, middle and ring fingertips under the arrow. Pull the bowstring back enough to apply a small amount of tension. Center the meaty part of the thumb on the back of the bow grip. Point the thumb toward the target and angle the knuckles 45 degrees. Relax the grip.
Posture/Alignment: Stand up straight and turn the head toward the target. Rotate the bow arm elbow away from the bowstring.
Raise Bow: Lift both arms up from the ground. The bow arm is extended. Stop when the bow hand is at shoulder height. Keep the bow vertical.
Draw: Pull the bowstring back in a smooth straight line toward the face.
Anchor: To maintain accuracy, keep the same anchor point every time. For beginners, the corner of the mouth is a good anchor point. Settle the index finger of the draw hand into the corner of the mouth and keep the draw hand relaxed and against the face.
Transfer to Hold: Move the draw arm elbow slightly behind the arrow to brace the draw weight of the bow. The tension of holding the bow is now transferred from the shoulder and arm muscles to the back muscles.
Aim: Place the point of the arrow on the intended target area. Focus the eye on the arrow point and the target.
Release/Follow Through: Relax the fingertips to allow the bowstring to release and push the fingers out of the way. Keep the bow arm up. Finish the show by allowing the draw hand to fall between the ear and the shoulder.
For a more in-depth look at equipment and shooting, check out “The Ultimate Beginners Guide to Archery.”
Practice
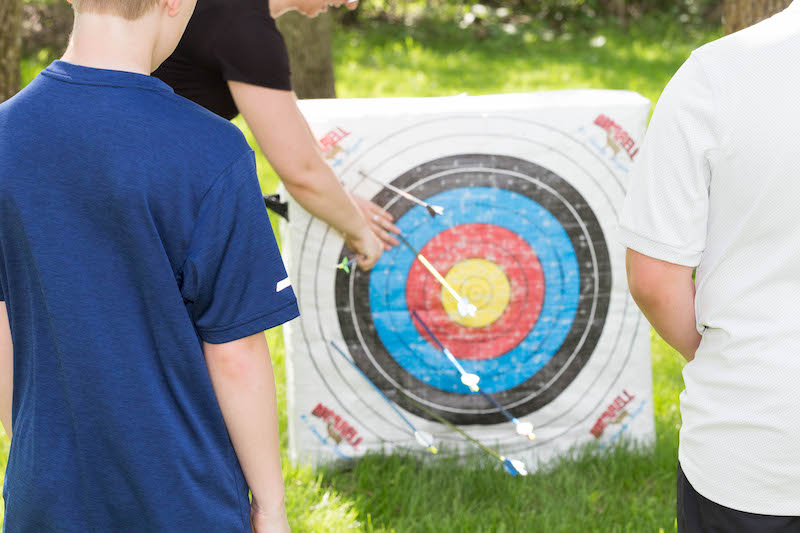
An average PE class lasts around an hour, so give your student at least that amount of time to practice. Have the student shoot groups of three arrows from the shooting line before going downrange to retrieve the arrows from the target. Shooting groups of arrows at one time helps judge consistent shooting. Remind the student to focus on following the shot process instead of where the arrow hits the target.
After they’ve mastered the basics, add some archery games. Games are a fun way to enhance practice. They can also improve focus and accuracy. You can also have your student keep an archery journal, with written or digital notes to help track their progress.
For older students, make archery more than just a PE lesson. If your child expresses interest in the sport, fuel their interest through research. Have them do a project about bowhunting, Olympic archery, types of bows or archery in Hollywood.
Keep it Going
If your student’s interest in archery outgrows homeschool, most communities have resources for student archers. While some of these activities may be on hold or have restrictions in place for now, that is expected to change in the future. Check in with your local archery shop about lessons, leagues and fun shoots. Some schools have Junior Olympic Archery Development programs for archers ages 8 to 20. Many local archery clubs also host tournaments.
Archery is an all-around great sport for all ages. It’s fun to do solo or in a social setting. You can shoot recreationally or competitively. Introducing your student to archery at home might open up future opportunities at school or in the community.