Archers have made and shot wooden arrows for thousands of years. They’ve brought down wooly mammoths and helped wage wars such as the battle of Agincourt, where English and Welsh archers shooting longbows defeated a larger French army in 1415.
Most archers see the romance and nostalgia of wooden arrows in a well-oiled back quiver. Such equipment embodies archery’s power and mystique. If you love wooden arrows, you’ll likely want to make your own someday. Building them is a labor-intensive, yet gratifying experience. To make the process easier for you, we broke it down into five easy steps.
Buying Wooden Shafts
To ensure accuracy, all arrows must match the bow that shoots them. Wooden arrows are particularly sensitive, and sometimes difficult, to match. A great way to find the right wooden arrows is to buy a test kit with shafts of various sizes and stiffness to learn which ones fly best. You can buy test kits from archery retailers who stock wooden arrows. Once you find the right shaft for your bow, buy a dozen that match, and start building your arrows.
What You’ll Need:
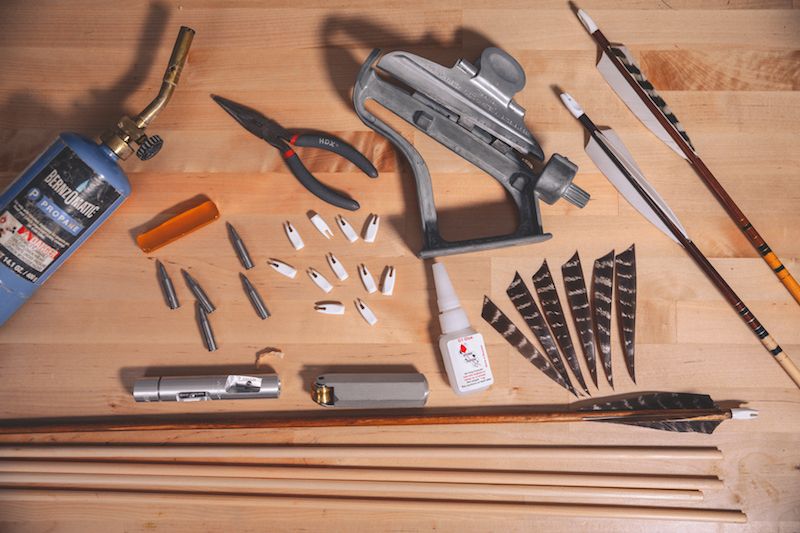
Wooden arrow shafts
Arrow straightener
Taper tool
Arrow saw or hack saw
Wooden arrow sealer
Dip tube
Glue-on points that match your arrow shafts’ diameter.
Glue-on nocks that match your arrow shafts’ diameter.
Fletching jig
Feather fletching
Fletching glue
Step 1: Straighten
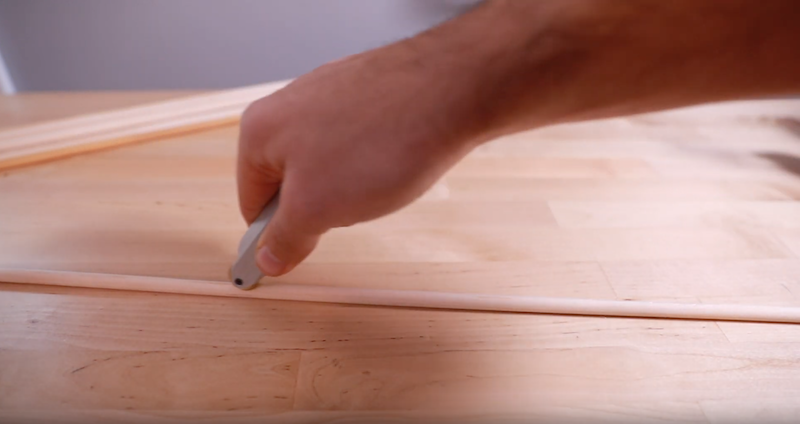
Wooden arrow shafts arrive fairly straight when retailers take delivery, but need some fine-tuning after you buy them. To straighten wooden shafts, sight down the shaft and slowly spin it while looking for a wobble, which indicates it’s bent. You can also check for straightness by laying the shaft on a granite countertop, a piece of glass, or other flat surface, and then rolling the shaft to look for a bend. When you find it, bend the shaft in the other direction with an arrow-straightening tool or by gently bending the shaft in the opposite direction.
Step 2: Cut and Taper
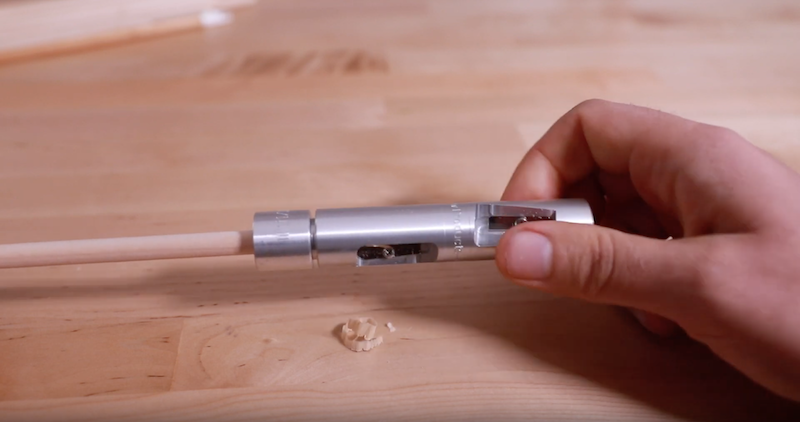
Once your arrows are straight, cut them to your desired length. Your arrows’ proper length includes the distance from the point to the nock, so leave enough shaft exposed to mount them. To taper the ends of your arrow shafts, choose a tapering tool that matches the shafts’ diameter. The tapers allow archers to mount their own points and nocks. These components taper at different angles, so you must make unique tapers on each shaft.
Step 3: Stain and Seal
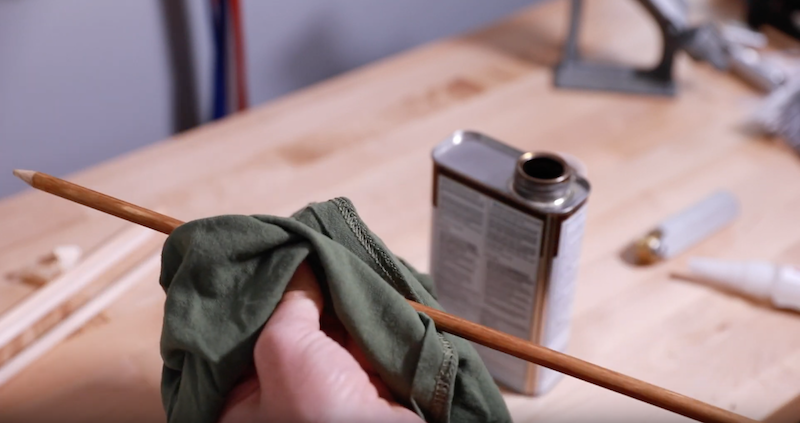
Your next step is to stain and seal the shafts to prevent them from absorbing moisture. Professional arrow builders use dip tubes filled with a sealer, which applies an even, consistent coating. Stains, sealers, and other wooden-arrow components can be bought from traditional-archery retailers. Still other builders wipe on polyurethane, which is fast and easy. Unfortunately, it can create inconsistent arrow weights.
Hang your shafts to dry, and apply at least one more coat of sealer.
Step 4: Install Points and Nocks
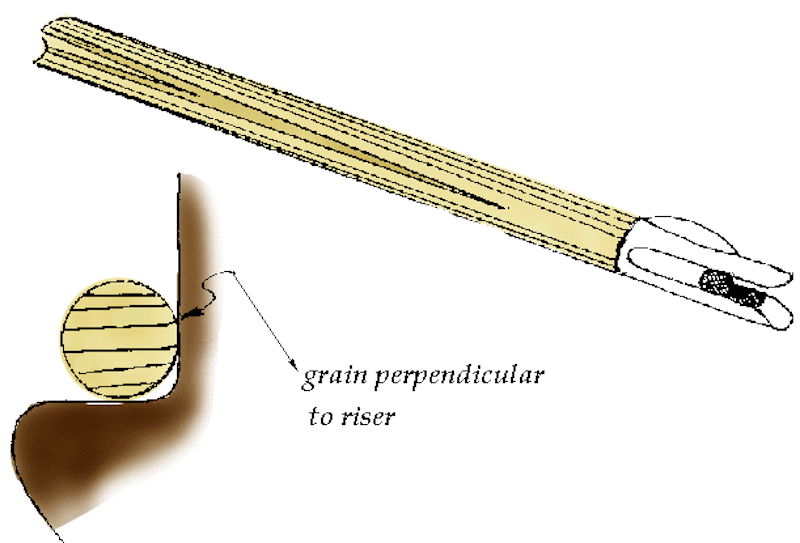
Light a blow torch, heat your hot-melt glue, and then smear some of it onto the point taper. Use pliers to grab a point and hold it briefly over the flame. Now insert the point taper into the point. Spin the shaft while inserting the point to distribute the glue, and then wipe off the excess evenly.
Use Super Glue to install the nock, but closely watch the nock’s orientation. Note the grain lines on the arrow shaft. They should sit perpendicular to the bow when the arrow is nocked. Place your nock onto the shaft so the opening for the bowstring is perpendicular to the wood grain.
Step 5: Fletching
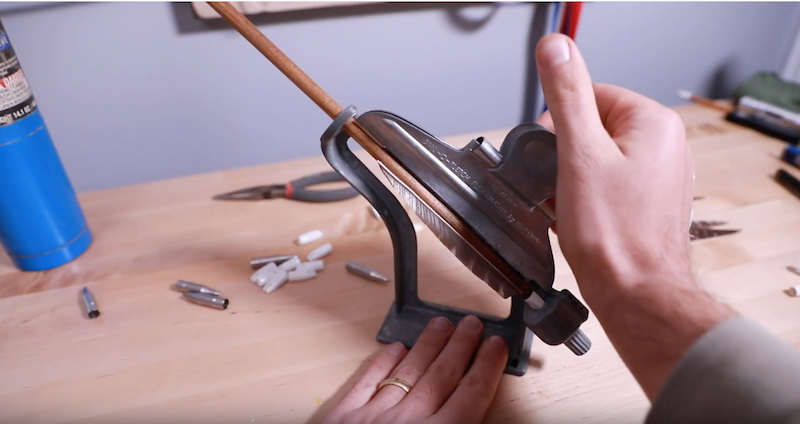
Place a shaft in the jig and a fletching in its clamp. Run a thin glue bead down the length of the fletching. Lightly tap the fletching on a paper towel to remove excess glue. Place the clamp on the jig, applying slight pressure to seat the fletching against the shaft. Let the glue dry, and repeat the process with your next fletching.
Once you complete these steps you’ll have simple, beautiful wooden arrows that are ready to shoot. Wooden arrows can be used for hunting, competition or just backyard fun.


