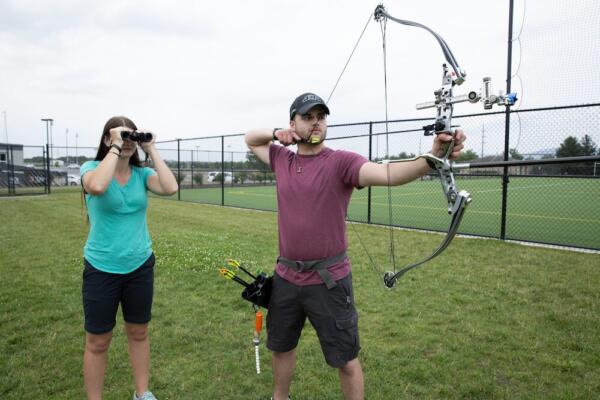
Shooting a recurve bow requires a few steps for each shot to go off as efficiently as possible. Compared to compound bows, recurves require more alignment and execution to hit the middle consistently. The steps we’ll review don’t describe how everyone should shoot a recurve, but they can help you learn vital parts of the process worth achieving.
We’ll break these key shooting steps into a few checkpoints that, when done properly, create more consistent shots. They include stance, hook, draw, expand/execution, and follow-through.
Stance
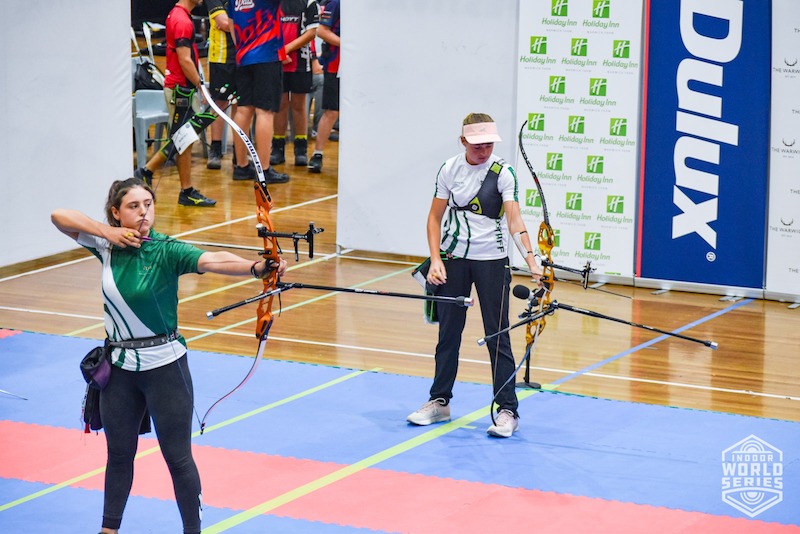
How you stand on the shooting line makes alignment easier, or harder, depending on your strength and flexibility. Most archers shoot with a slightly open stance, with the string-side foot forward of the bow-side foot to open their hips to the target. This stance requires a little torso twist to align the shoulders. The open stance also helps archers who have clearance issues in the chest and front shoulders.
The even “basic” stance keeps feet even with each other in relation to the target. If you drew a line across the front of your shoes, it would point at the target you intend to hit. This stance helps align your shoulders because it requires no twisting to offset open hips. However, because there’s no twisting, you might feel no tension through your torso.
Choosing the right stance is a vital first step to set up your shot. Be patient. You must experiment and play around a bit to learn what works best.
Hook
Recurve archers must also learn how to best hook the bowstring, which means putting your fingers around it. The two hook options are deep or shallow, and each have pros and cons. A shallow hook, which means grabbing the bowstring closer to the fingertips, offers a quicker release that feels cleaner. But because the bowstring is farther from the main knuckle, you might feel more tension in the string hand than you like. A deep hook, which means grabbing the bowstring between the fingers’ distal and proximal joints, promotes a more relaxed string grip. The release, however, can feel a bit rough because of how much of the fingers must move from the string’s path.
Draw

Drawing the bowstring is critical for how you get into, and use, your back in the process. Archers have hundreds of ways to draw a bowstring, but the two most common are linear and angular. Korean archers commonly use the linear draw, in which the bowstring does not move left or right while being drawn in a straight line to the anchor. American archers have popularized angular draws, in which the bowstring moves away from the body and then back to the anchor. Depending on your build, these two methods can engage your back muscles more efficiently.
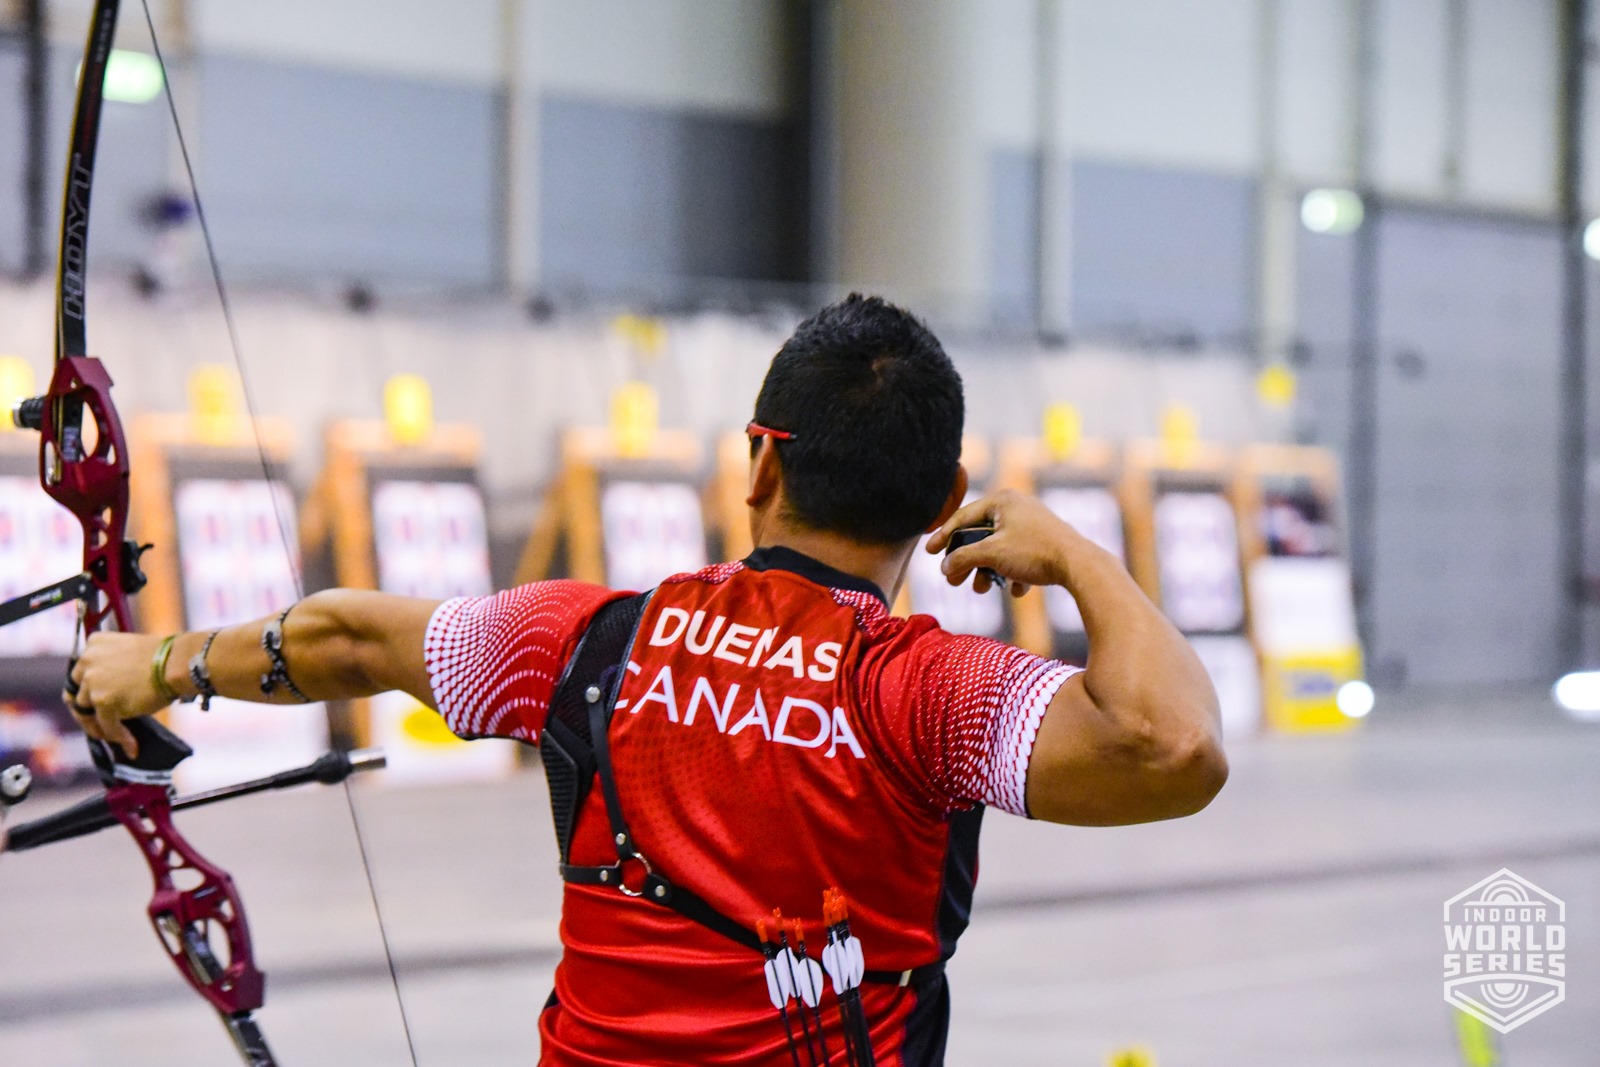
Expand/Execution
You can think about coming through the clicker in many ways, but you basically have three alternatives: pull, push, or both. Most beginners learn to pull through the clicker when first using it. That single motion is the simplest, most effective way to get archers accustomed to using a clicker. Pushing through the clicker requires more body awareness. Archers hold the bowstring against their face at full draw, and push the riser away to activate the clicker. That works great if you have problems with a moving anchor, but the pushing motion presents a bigger problem; this should be done by expanding the shoulder, and not by lengthening the arm at the elbow, as in a pushup or tricep extension. Combining the pull and push is commonly called expanding through the clicker. It takes time to synchronize this method, but it’s an effective way to come through the clicker.
You’ll execute these moves properly when all the pieces fall into place, and you don’t think about finishing the shot. Granted, it can take a few years to shoot on autopilot, but most top-level archers do not tell themselves to follow through or use their back an exact amount. Execution means keeping your back engaged as the arrow leaves the bow, and keeping your bow arm up and toward the target to “guide” the arrow toward the middle.
Follow-Through
Much as golfers and baseball players don’t stop their swing upon contact with the ball, archers shouldn’t stop their motion after the clicker sounds and they release the arrow. Indications of a good follow-through are the string hand moving away from the bow upon release, and a strong post-shot “pose.” The archer’s core is solid and the arms remain up, creating an uppercase T shape. Strong follow-throughs help archers hit the middle consistently, and ensure efficient arrow releases.
These instructions outline possibilities on how best to draw a bow and shoot arrows. Talk to your coach and experiment to learn which options work best. Another fun way to explore your options is to go online and watch videos of archers you admire to see how they do it. Copying the best can generate faster results.