Most compound-bow archers use wrist-strap releases with a trigger activated by the index finger. But as you shoot more regularly with this popular release, you might find yourself “punching” the trigger. Coaching advice is the best way to beat this issue, but some archers cure themselves by switching to a different release style. The two main styles they choose are a hinge and a thumb release. To learn about hinge releases, click here.
What is a thumb release?
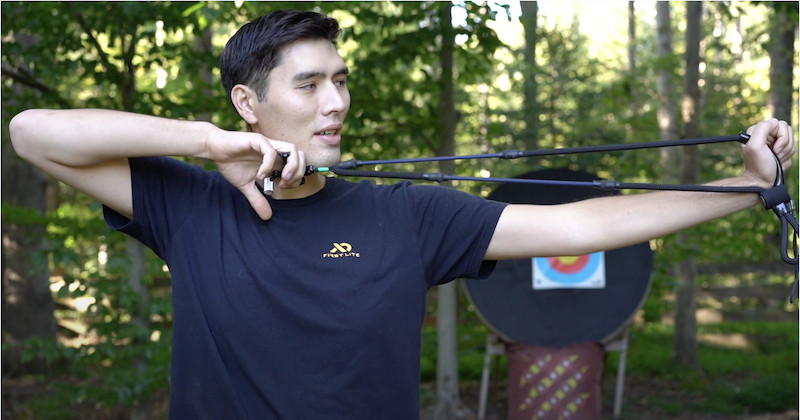
The thumb release, also called a thumb button, is a handheld device with a trigger that’s activated with your thumb. Why the thumb? One big reason is that the index finger is more sensitive, which causes hesitation and punching. In contrast, archers find it easier to use large muscle groups to trigger shots, which improves consistent shot execution.
Thumb buttons come in sizes and configurations to suit every archer. The most common style is a three-finger release that uses your index, middle and ring fingers to draw the bow.
Set Up
Like many things in archery, release aids must be adjusted to fit each archer. Some release aids have more adjustments than others, but most let you adjust the trigger position and the pressure needed to trigger the release.
Start by adjusting the trigger position until you can easily reach it with your thumb. Clip your release to a shot trainer or piece of string so you learn how the trigger position feels.
Next, set the trigger’s sensitivity so it requires a fair amount of pressure to release the string. Once you’re comfortable drawing, anchoring and shooting your release, start experimenting with the trigger’s sensitivity.
First Shots
You’ll also have to get used to a new anchor point. Lessons are the best way to learn how to anchor with a thumb release. A common method is to place your jawbone between the “V” created by your index and middle finger. This method creates a solid, repeatable anchor point. Your anchor will likely be lower than the one you used when shooting an index-finger release, so you’ll need to adjust your peep sight. You might also need to tweak your draw length. Experts at the archery shop where you bought your release can help.
Practice with your new anchor point using a string or shot trainer. Once you feel comfortable, place your thumb on the trigger and apply steady pressure until it breaks, and then fire your first shots. Start near the target and don’t worry about precision. Focus on learning how to use your release. As you draw, keep your thumb away from trigger.
Feeling comfortable? Then start learning the nuances of using your release. Many techniques help archers properly execute shots with thumb releases, and archery coaches are a great way to learn. If you can’t find a coach nearby, visit YouTube and watch videos by George Ryals IV, Levi Morgan, Paige Pearce and John Dudley to study their methods. Experiment with their techniques and decide which best suits you.