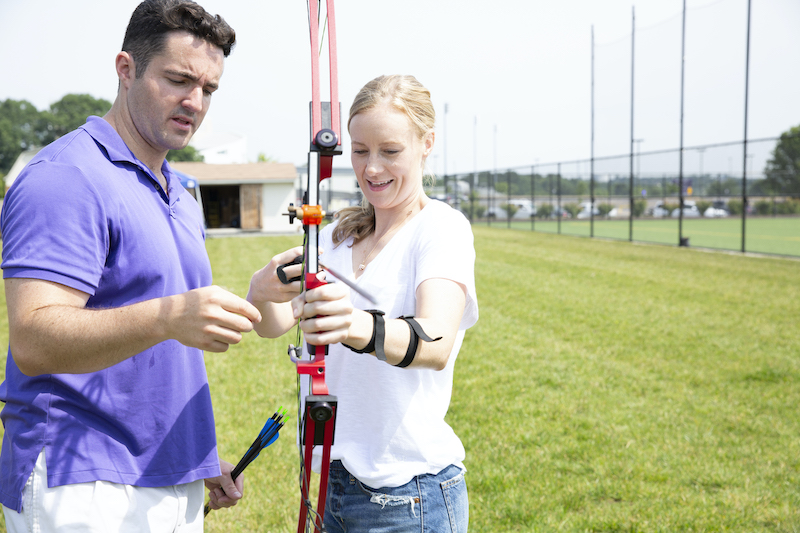
A common problem for new archers is their arrow sliding off the arrow rest. Most solve this issue by holding the arrow in place with their index finger while drawing the bow, but that’s an unsafe and temporary fix. It’s better to diagnose the cause. Let’s review why arrows often fall off the rest while being drawn.
Finger Tension

Gripping the bowstring too tightly or improperly hooking it can twist the arrow off the rest. A proper bowstring grip is no grip at all. Place the string between the first and second joints of your index, middle and ring fingers. Experiment with the exact placement. Some archers, for example, place the string closer to the first joint. Use only enough tension to keep the bowstring from slipping out of your fingers. Your bone structure, not muscle, should support the weight. Think of holding the bowstring as if you were hanging onto a bar by your fingertips. Keep the back of your hand flat and your muscles relaxed. By drawing the bow with a relaxed hand and forearm, you’ll keep your arrow on the release and ensure a clean release.
Too Much Draw Weight
It’s easy to overestimate how much draw weight you can handle. In fact, a common mistake of beginning archers is starting with too much weight. As we just discussed, muscle tension in your hand and forearm can twist your arrow off the rest and hamper your release. Muscle tension is one of many symptoms for too much draw weight. If you can’t hold your bow at full draw for 10 seconds, try a lighter draw weight.
Nocking Point Too Low
A nocking point set too low won’t apply enough downward pressure on the arrow rest, which can let the arrow fall off the rest. How can you tell your nocking point is too low? Start by measuring your nocking point’s height with a bow square. For recurves and longbows, the nocking point should be a ¼-inch to ½-inch high. You should then tune the bow to dial in the exact nocking-point height. The pro at an archery shop can help with this process.
Torquing the Grip
Much like too much tension in your string-gripping hand, improper hand placement on the grip can twist your arrow off the rest. If you grip a bow as if it’s a baseball bat, the bow will twist side to side. That’s called “torquing the bow.”
A proper bow grip generates little torque. A good grip, in fact, is the least grip possible. To reduce torque, loosely grip your bow by relaxing your hand and placing it on the bow’s grip. Slide your hand up the grip as far as it can go. The web of your hand should be in the throat, which is the grip’s deepest part.
Next, set your hand so only the area between the thumb and your palm’s lifeline touches the grip. Your knuckles should be set back at a 45-degree angle to the riser.
Point your thumb toward the target, and curl your fingers until they rest on the front of the bow. If you start squeezing the bow’s grip, tuck your fingers so they can’t touch the bow. But if you use the tucked technique, buy a finger or wrist sling at an archery shop to keep the bow from dropping.
Apply slight pressure to the bowstring to set your grip into place, and keep your hand relaxed throughout the shot.
Still having issues? Take a lesson from an instructor. It’s the best way to diagnose shooting issues. Most shops offer lessons. You can find a shop nearby here.


