Archery is all about consistent shooting, and the nocking point is essential to consistency. The nocking point marks where you clip your arrow to the bowstring, and keeps it there as you draw and shoot.
Every bowstring needs at least one nocking point. If you go with that lone nocking point, your arrow nock sits snugly beneath it. Although one nocking point is good, two nocking points— one above and one below—the nock ensures your arrow stays positioned throughout the shot.
Nocking points can be tied on with serving string, or clamped on if made of brass. Both styles do the job. Your choice is personal preference. This article discusses how to tie nocking points.
Tying a Nocking Point
Nocking points can be tied many ways, and each knot style has merits. We’ll discuss how to tie an adjustable nocking point that’s held in place with a drop of super glue.
Adjustable nocking points can spin up and down the string serving. This feature is convenient when setting up a new bow because it lets you tune your nocking height without retying the nocking point.
What You Need:
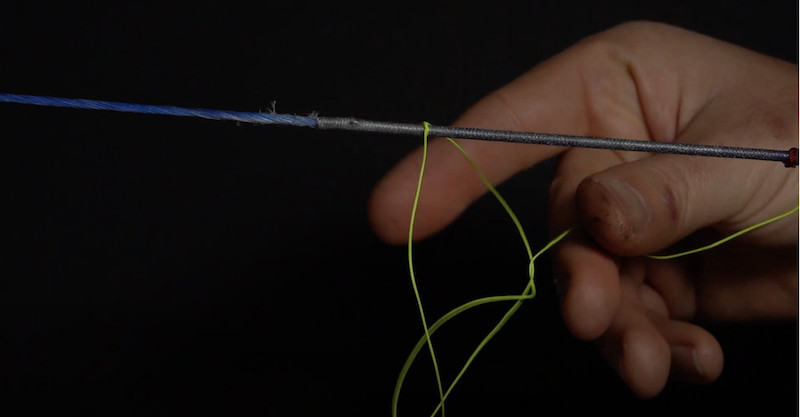
Serving thread
Lighter
Super glue
Bow square
Step 1: Initial Nocking Point Height
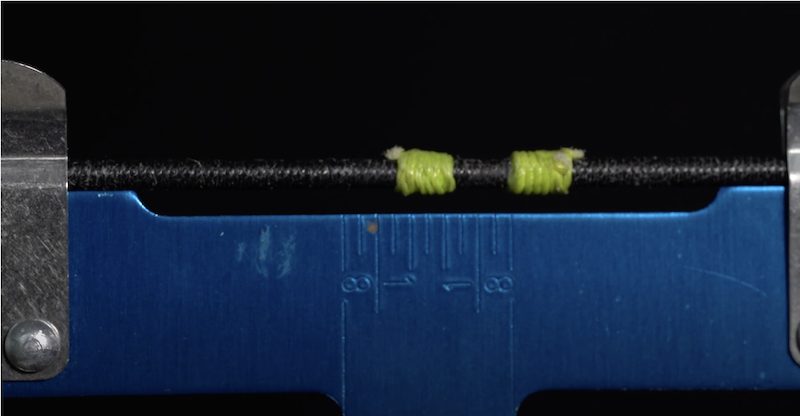
Cut 2 feet of serving material, and clip the bow square onto the bowstring. Slide the bow square until it just touches the arrow rest. Tie a single overhand knot to mark your starting location.
For barebow archers, start your nocking point a half-inch high, unless you’re shooting a drop-away rest like the Zniper. In that case, start your nocking point a 1/8 inch high.
Olympic recurve and traditional archers should start the nocking point 3/8 inches high.
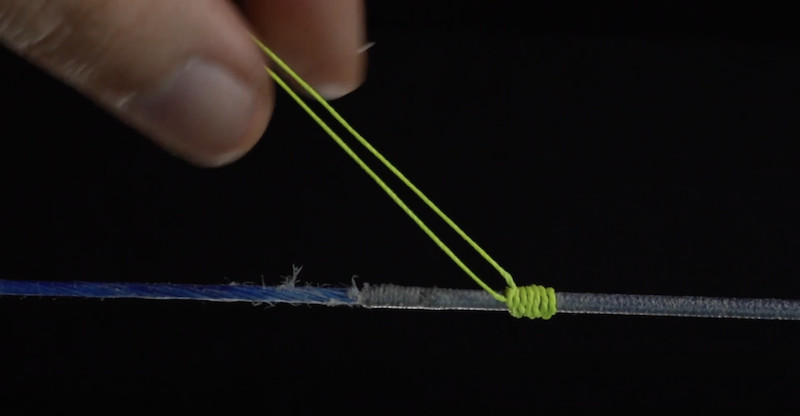
Step 2: Alternating Double Overhand Knot
Tie a double overhand knot on the opposite side of the serving from your single overhand knot. Then tie a double overhand knot opposite of the double overhand knot you just tied. Alternate back and forth until you’ve tied six double overhand knots on each side of the bowstring.
Step 3: Finish the Nocking Point
Tie a single overhand knot and another single overhand knot on top of it to secure your serving material. Cut the excess material and melt the small tag ends with a lighter.
Step 4: Tying the Bottom Nocking Point
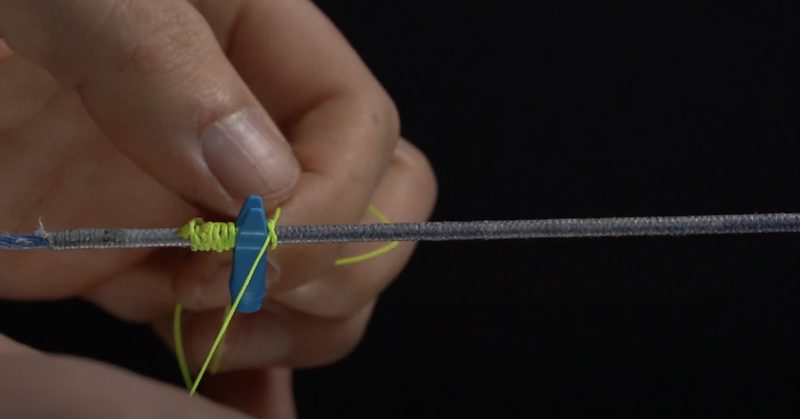
Clip your arrow or just the nock onto the string. Be sure the nock is pressed against your nocking point. Take your length of serving material and tie a single overhand knot about 1/16 inch below the nock. That small gap prevents nock pinch. Proceed tying the nocking point as described earlier.
You can leave your nocking point at the suggested starting point or tune it. Watch the above video to learn how bare-shaft tuning helps you set your nock height. Once you find your ideal nock height, secure it with a drop of super glue.
Archery shops stock serving material and bow squares, and a staff member can install a brass or tied-on nocking point. To find a nearby shop, click here.